How to develop universal apps for IoT device
August 24, 2015 by Anuraj
.Net IoT Miscellaneous Visual Studio Windows Phone
This post is about developing apps for your IoT device. In the last post I mentioned about installing and booting Windows IoT core on Raspberry PI 2. In this post we will look into the application development for IoT devices.
Prerequisite
- Visual Studio 2015
- IoT extension SDK
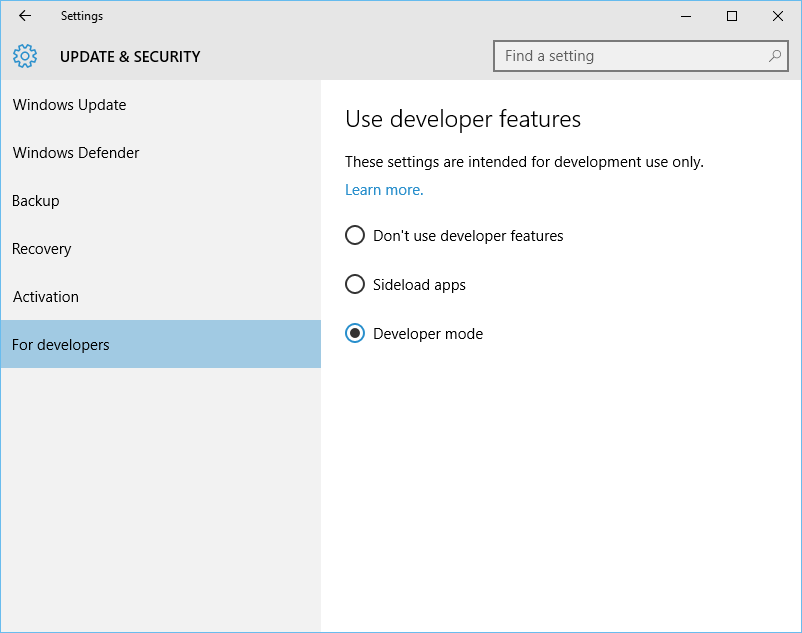
- Developer mode should be enabled in Windows 10. If not enabled, you can do it via Settings > Security and Update. And you need to select Developer mode.
Developing a Hello World Application for Raspberry PI 2
- Open Visual Studio, and Select Blank App (Windows Universal) from Universal project templates.
- IoT extension SDK is not added to projects by default, if you need to access some device GPIO, you need to add reference of “Windows IoT Extensions for the UWP”, you can do it from Add References > Universal Windows > Extensions > Windows IoT Extensions for the UWP.
- Now you can add some content to your MainPage.XAML file.
<Grid Background="{ThemeResource ApplicationPageBackgroundThemeBrush}">
    <Grid.RowDefinitions>
        <RowDefinition />
        <RowDefinition />
    </Grid.RowDefinitions>
    <Button HorizontalAlignment="Center" Grid.Row="0" Content="Hello World" FontSize="65" />
    <TextBlock Grid.Row="1" Style="{StaticResource HeaderTextBlockStyle}"
            VerticalAlignment="Center" FontSize="100" HorizontalAlignment="Center" Text="Hello World" />
</Grid>
This application contains one button and one label, both shows Hello World. I don’t have any code behind.
- Once your app is created, change the target architecture to “ARM”, select “Remote machine” from the list of target devices dropdown. If no remote machine configured, Visual Studio will display a Remote connections dialog like this.
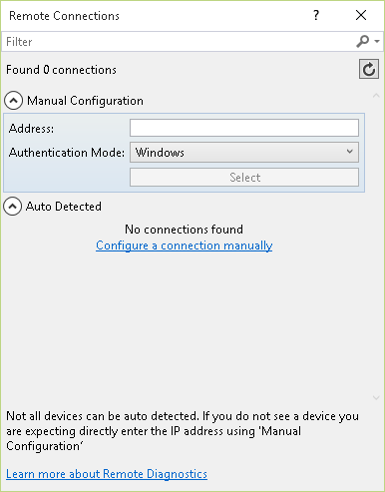
If your Rasberry PI connected and detected, you can select it from Auto Detected remote connections. If it is not available, you need provide the IP Address or machine name, and change the authentication mode as “None”.
Once all the configurations completed, you can debug the project using Visual Studio.
Happy Programming :)
Copyright © 2024 Anuraj. Blog content licensed under the Creative Commons CC BY 2.5 | Unless otherwise stated or granted, code samples licensed under the MIT license. This is a personal blog. The opinions expressed here represent my own and not those of my employer. Powered by Jekyll. Hosted with ❤ by GitHub